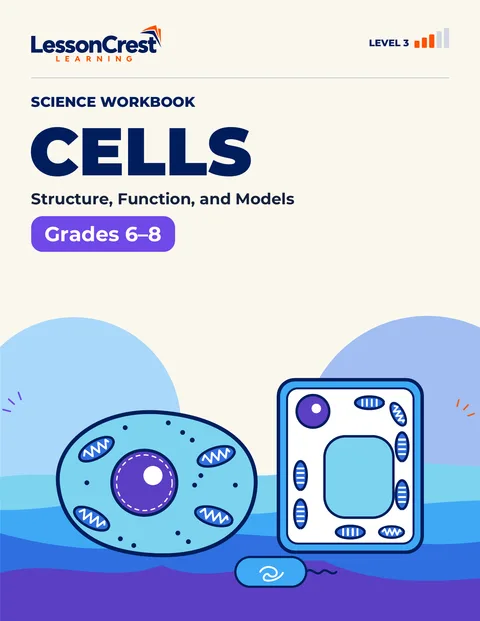
Cells
Structure, Function, and Models
Orient the body. Read the section. Name the tissue.
A college course companion for the language of anatomy. Use anatomical position and paired directional terms, relate planes to sections and cavities, map homeostatic feedback loops, and identify the four tissue classes from evidence instead of stain color. Every lesson follows the same seven steps, from a readiness check to explained answers.
With explained answers for every page
Covered
This course companion practices the shared language of anatomy and physiology: anatomical position, directional and regional terms, body planes, sections and cavities, levels of organization with homeostatic feedback, and the four primary tissue classes.
Not covered
- It does not survey the organ systems (the companion book Skeletal and Muscular Systems continues from here), and it never diagnoses or advises on health.
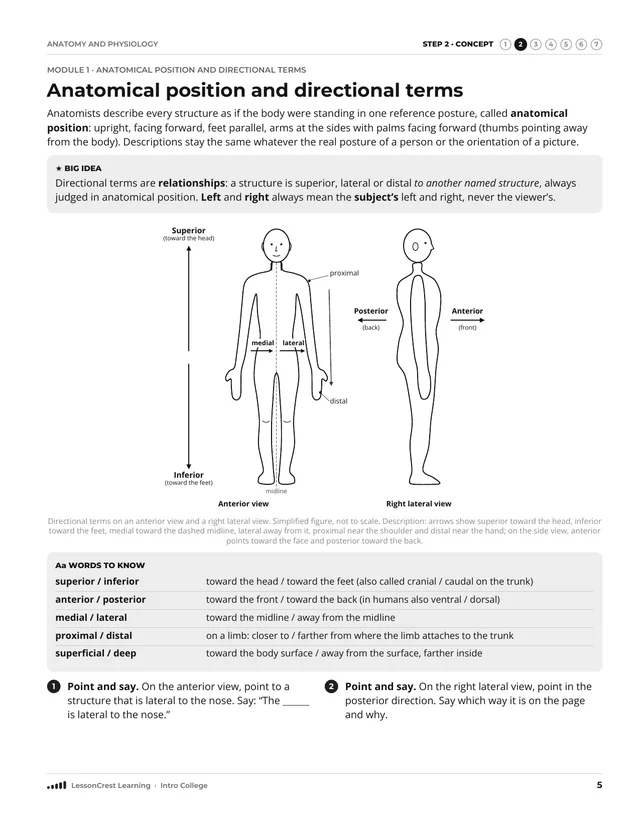
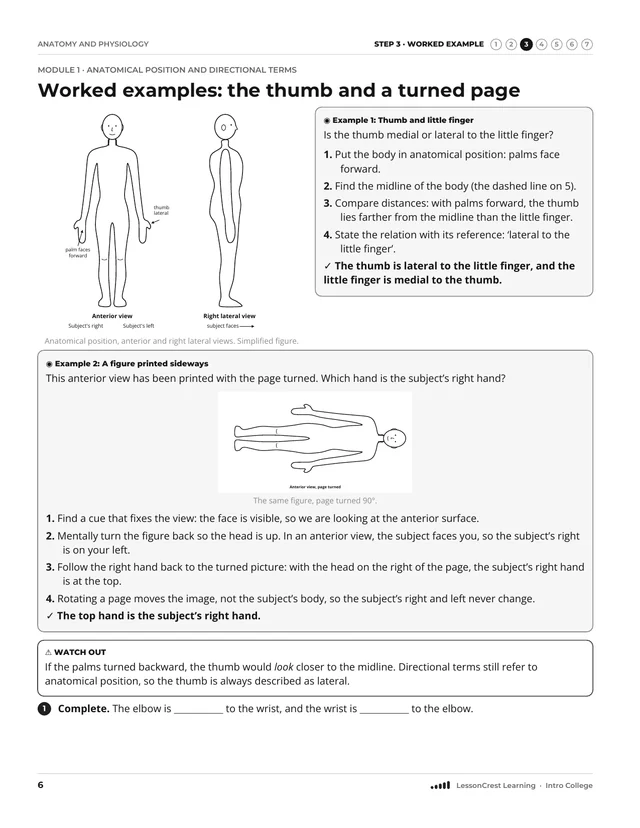
- Every figure is a simplified line drawing or schematic, not a photograph or micrograph.
Before you start, you should be able to
- I can locate the cell membrane, nucleus and cytoplasm on a cell model
- I can describe where something is on a body diagram in everyday words
- I can match familiar organs to a basic function
- I can tell an observation from a statement about a model or about a function
Notices
This book teaches anatomy and physiology vocabulary. It does not give medical advice, diagnosis or treatment.
Pictures in this book are simplified learning models. Check answers with the explanations at the back of the book.
Check the skills you need before you begin. If something feels tricky, an adult can help you start in the right place.
Read a short, clear explanation of the new idea and the words that go with it.
Watch the idea being used, one step at a time, in a worked example.
Practice with prompts and help cues. The help gets smaller as you get stronger.
Practice on your own with different kinds of questions, and explain your thinking.
Look back at earlier learning so it stays strong, then check where to go next.
Check your answers. Each answer explains why, names a common mistake, and shows how to fix it.
Structure, Function, and Models